This tutorial will help you setup a custom page template with jQuery ui tabs setup as the main content area.
There are lots of plugins available that allow tabbed content areas in your posts or pages, but they are all a bit bloated to me. The jQuery that’s included in WP already has tabs built in, so why load extra stuff?
This tutorial gives you the basics of setting up a page template with tabs. From here, you can customize however you’d like. You can put ACF fields in your tabs, or shortcodes from other plugins like Easy Digital Downloads or WooCommerce for account and purchase history.
UPDATE: Once you get your template setup, view Part 2 to learn how to load content with ajax in your tabs.
UPDATE 2: If you are using ACF Pro, I built a nice little plugin to have nested tabs with a few great settings. Check out ACF Tabbed Content plugin on GitHub.
Create the page template
Create a file in your Genesis child theme called something like page_tabs.php.
At the top of the file you must include the Template Name tag in order for WordPress to recognize it as a template.
/**

* This file adds the tab template to your.

*

* @author Mike Hemberger - @JiveDig

* @link http://thestizmedia.com

* @package Genesis child theme

*

* Template Name: Tabs

*/
The final code will be in a snippet later in the post, so don’t worry about copying it yet unless you are trying to follow along part by part.
Setup tabbed content markup
jQuery tabs require a div wrapped around everything in order for the javascript to target it correctly. We will remove the default content from our template, create the tab markup and put the page content into the first tab. In your template you can remove the default content altogether, or put it before/after the tabs… whatever you want to do.
We use an unordered list to create the tabs themselves. Each list item has an anchor link that calls a specific div ID.
It’s important that you make sure your href’s are calling the correct div ID in the content area.
The .tsm-tab-content div is only there for styling later on, it’s not needed to make things work. Inside of you content divs can be anything you’d like. The tab world is at your fingertips!
Load the javascript
Next we need to load our tiny javascript file and make sure we include jquery-tab-ui in the process.
First, create a js file in your child theme. I call mine tsm-tabs.js. Put it somewhere organized, like in /child-theme/assets/js/ or just /child-theme/js/. If you’re using a Studiopress child theme there may already be a /js/ directory in the theme.
Inside that file is only a few lines of code. The only thing you need to do is make sure the div ID is the same as the main wrapper div in our page template. The content of the js file is as follows…
Now we need to enqueue the file we just created. We will make sure jQuery loads the tab files, and load it all in the footer. Here is the code to load our javascript file.
Put in your content
That’s all there is too it.
Put your content right in your template file, or use something like Advanced Custom Fields to create fields for your tab contents.
The Final Code
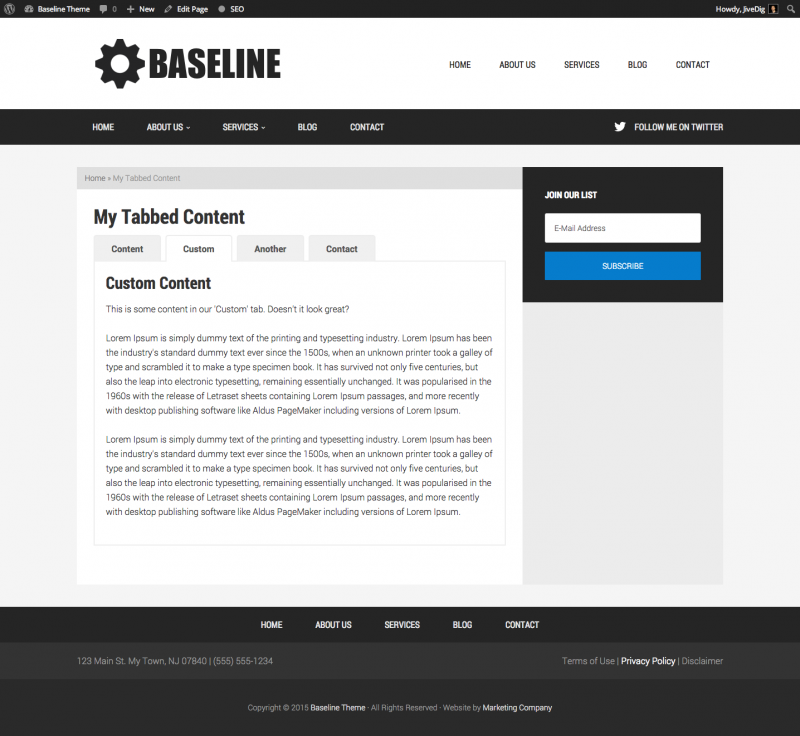
Once the template is setup, create a page inside WordPress and choose your new template for your page in the sidebar select box.
Here is the final code for our template with some dummy content in there.
Happy coding!
Here is some basic CSS to match the demo video.. it should be a good starting point for you.